How to create a shared bedroom for a boy & a girl
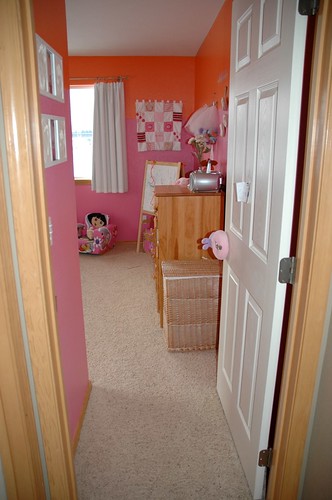
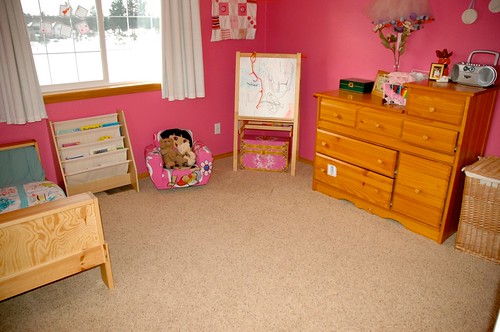
Our oldest two children (Hunter age 8 and Ashlyn age 6) have shared a bedroom for about a year. It began when our in-laws brought us the bunk bed my husband used as a child and set it up in Hunter’s room. It didn’t take long before Ashlyn was joining Hunter each night and pretty soon they both discovered they preferred to room together. After several months of this routine we put Quinten into Ashlyn’s bright pink and orange room. This hodge podge arrangement didn’t feel ideal. Ashlyn’s clothes and toys were still in her room where Quinten slept and Quinten’s clothes and toys were in Hunter’s room where Ashlyn and Hunter slept. It was time for a change. We decided to move both Hunter and Ashlyn into Ashlyn’s room as it was the larger of the two and let Quinten have Hunter’s room. However, Ashlyn’s room was just a tad to girly to work for Hunter. . . time for gathering ideas.
Before: Orange, Pink and a whole lot of girl!
The goal was to create a shared room for Hunter and Ashlyn that would fit them both in design and space. I began by searching Pinterest for ideas on shared rooms. I got some good ideas there, however as you might imagine, most shared rooms are for children of the same gender. I needed to figure out not only how to arrange furniture, but find a color scheme that would work well for a boy and a very “girly” girl.
It was a fun challenge and I am really thrilled with how it turned out, let me show you what I did:
The process:
-We started with Dove Tail Grey from Sherwin Williams (I can’t overstate how fantastic the customer service was at our Sherwin Williams store). Covering up a bright pink and orange color with grey was a huge change. I really felt that the grey would look great but I was so relieved when it it was up on the wall and looked as good as I had hoped. This grey has beautiful depth and was neutral in the perfect way—a great backdrop for bright colors to shine in other areas of the room.
-Next we decided to maximize the room’s space by adding two loft beds. I searched our local Craig’s List for used loft beds and was thrilled to discover a local craftsman making custom beds with a price point that was right in the ballpark of the used frames I was finding. Choosing loft beds allowed us room for each child to have a desk under their bed. One desk was found at a thrift store and the other (which amazingly matches the first, isn’t the Lord nice like that?) was found on Craig’s List. The funky orange desk chair also came from a thrift store.
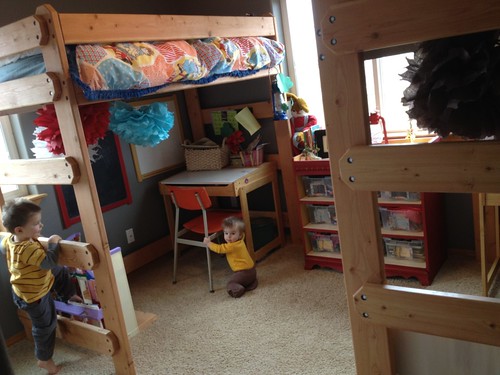
-Because I was looking for a color scheme that was both gender neutral and flexible, I opted for primary colors. With this in mind, I searched for their bedding on eBay using the keyword “vintage” in my search. I discovered a great Raggedy Ann spread for Ashlyn and Star Wars comforter for Hunter. Both had strong primary colors with a white/light background so I felt they worked well together while allowing them each to have their own personal tastes represented. When Ashlyn’s spread arrived I realized that an edging had simply been sewn around three sides of a flat sheet turning it into a bedspread. It was a simple way to create a bedspread and something I will keep in mind for the future ![]() ! Because it was so thin, I decided to turn Ashlyn’s spread into a duvet cover by sewing another sheet to it along three sides, adding some button holes to allow closure to the forth side and stuffing her comforter inside.
! Because it was so thin, I decided to turn Ashlyn’s spread into a duvet cover by sewing another sheet to it along three sides, adding some button holes to allow closure to the forth side and stuffing her comforter inside.
-The primary colors in the room were reinforced with the toy storage bin that I refinished using Chalk Paint from Stylish Patina and tissue paper balls hung from under their beds. I also used some of my left over Chalk Paint for the frame of a corkboard as well as a chalk and dry erase board (which used to be an art easel before we took it apart ,cut off the legs and mounted them on the wall).
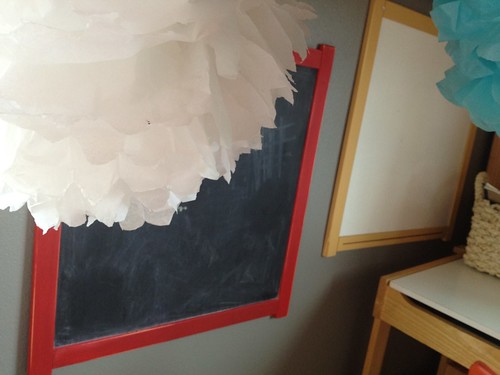
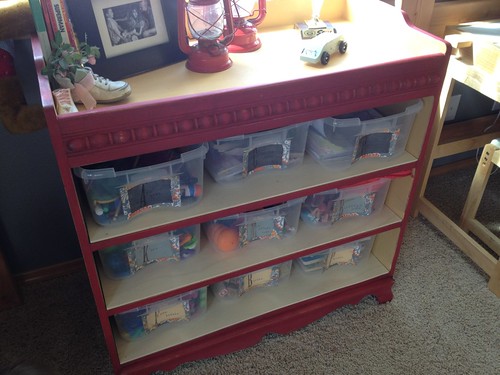
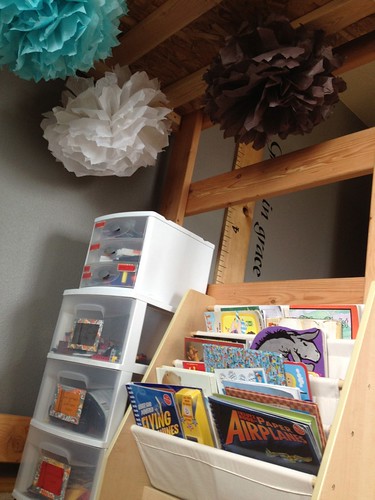
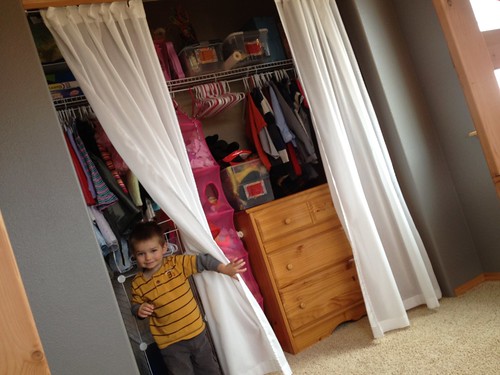
-Because floor space was limited, we moved their dresser inside the closet and removed the closet doors replacing them with a curtain and cable rod purchased from IKEA.
-The last fun embellishment for the room was a growth ruler from a local mom run company called Keepsake Rulers and the accompanying vinyl wall lettering was purchased from a family run business called All American Sign in Coeur d’Alene, Idaho. Previously my children each had their own growth chart. I was able to transfer their heights and dates onto this one location and it is fun for the kids to see how their growth compares at different ages. I also love that we could take it with us should we ever move (unlike a door frame which is what we used when I was growing up).
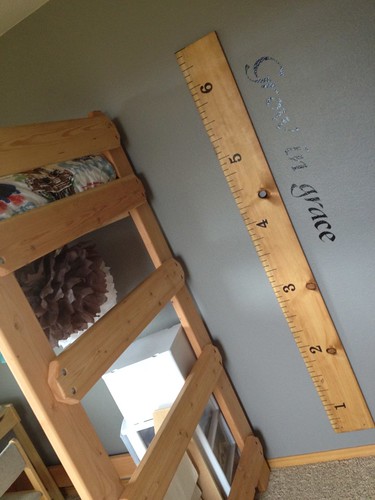
The final result was a room that is both functional yet fun, practical yet playful.
If any of you have kids that share a room I would love to hear what you have done with the space to make it work well for your situation!


The post How to create a shared bedroom for a boy & a girl appeared first on Mom4Life Blog.
